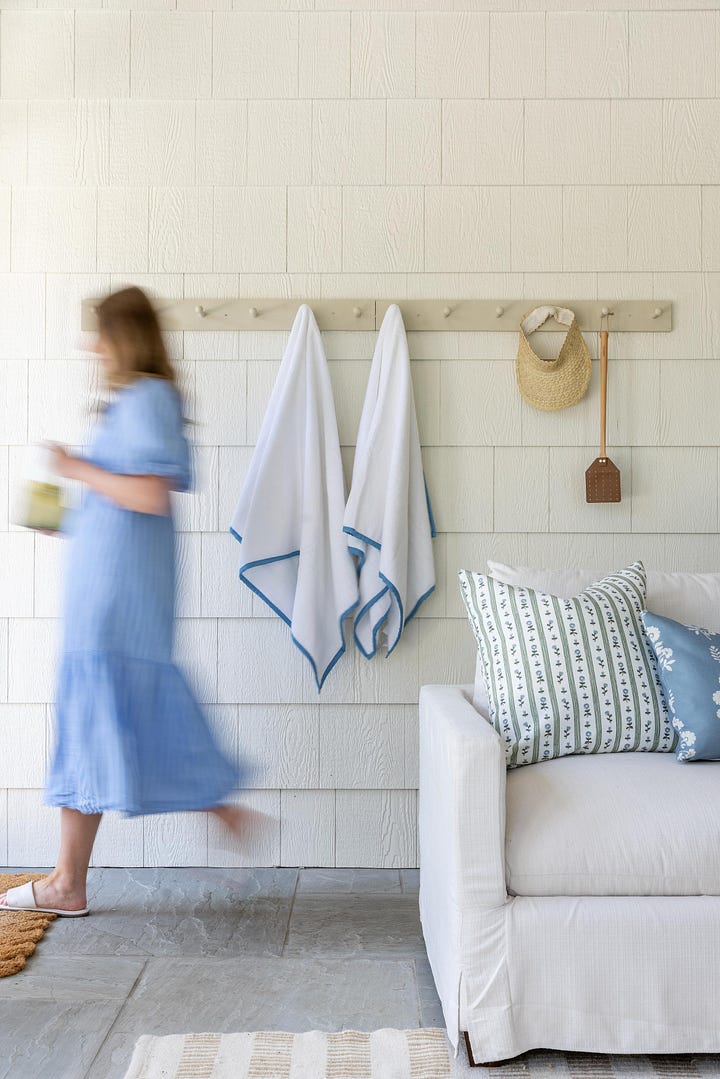
If you’re looking for an easy project to elevate your home this season, a classic shaker-style peg rail is just the thing. I added one to my porch, and it’s become the perfect blend of charming and functional—ideal for hanging hats, bags, or gardening tools. With just a few supplies and simple steps, you can add extra storage and timeless style to any room. Here’s how —
What You’ll Need
1” D x 4” W wood plank in desired length
Measuring tape
Drill
Wood screws
Primer, paint and small paintbrush
Screw-in wooden pegs (we used these)


STEP 1 → Prep the plank and pegs
Measure and cut the wood plank to desired length. Sand, prime and paint the plank and pegs in your chosen color. (I used Nature’s Essentials by Benjamin Moore.)
STEP 2 → Install the plank
Drill the plank directly into the wall. Conceal screw heads by filling them with wood filler, then sand and touch up with paint. Once the plank is secure, measure and mark where you’d like each peg. I spaced mine 4 inches apart!
STEP 3 → Attach the pegs
Pre-drill holes at your marked spots, then screw in each wooden peg. Make sure every peg sits flush with the plank and stays parallel to the floor. Easy as 1-2-3!
STEP 4 → Finishing touch
Once your peg rail is installed, have fun styling it! I’ve hung everything from a fly swatter and my favorite visor to pool towels—practical pieces that add charm and keep essentials within reach. A simple project like this brings both beauty and function to your home, and you’ll love seeing it in use every day.
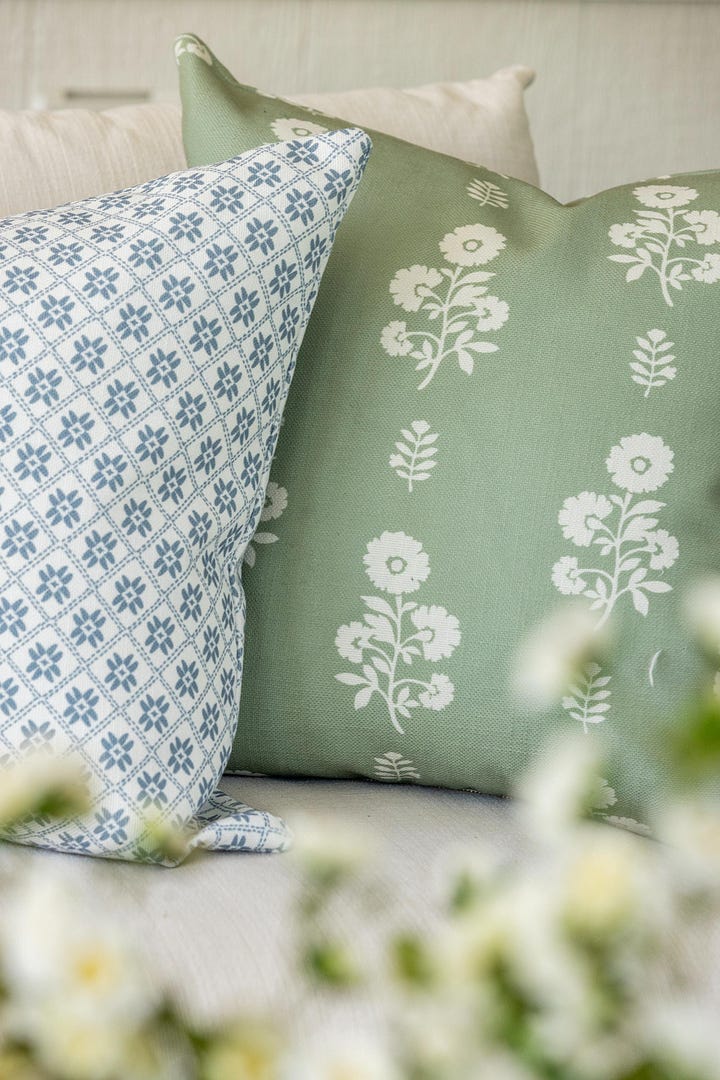
P.S. — The adorable pillow covers you see in the photos are from Brooke & Lou, including my favorite Ruthie Stripe and Chloe Floral.
Questions about this post? Drop a comment and I’ll answer any of your questions!


We’ve been wanting to add peg hooks to our exterior since we built our new pool this season! Two questions: (1) would you do anything to make these weather resistant? (2) what’s the advantage to DIYing vs buying a rack from IKEA and painting it?
Thank you!
Ali